

Textured wall panel kit upgrades are catching the eye of homeowners everywhere in 2024, promising a dramatic, modern wall makeover without the price and disruption of major construction. But whether you’re thinking about a DIY accent wall or weighing up if hiring a professional is better for your budget and resale goals, the right approach has a real impact on cost, risk, safety, and satisfaction. Here’s what you need to know—no sales pitch, just what actually matters in the decision.
Key Takeaways
- The DIY route for a textured wall panel kit typically runs $12–$35 per square foot, while hiring a pro averages $37–$105 per square foot—preparation and finish quality drive the gap.
- Durability, moisture issues, and seam alignment are the most common trip-ups according to real user reviews; mitigation starts with surface prep and the right panel choice.
- Material (PVC, MDF, metal, or plant-based fiber), safety ratings, and environmental credentials affect not only long-term performance, but also resale and insurance peace of mind.
- Market snapshot — why textured panels matter in 2024
- DIY vs. professional — clear cost comparison and decision criteria
- Most common installation problems and how to avoid them
- Exact cost breakdown and time investment for a typical room
- Tools & skill checklist — what you need to buy, rent or already know
- Materials and technologies used in best-selling kits
- Fire safety, VOCs and environmental considerations
- Styles, patterns, customization and resale impact
- Regional/regulatory considerations for 2024
- Three important subtopics most competitors miss
- Quick decision checklist & next steps
- FAQ
Market snapshot — why textured panels matter in 2024
The global 3D wall panel industry is in a rapid growth phase—valued at about $1.94 billion in 2024 and projected at a 6.8% annual growth rate, set to reach $3.57 billion by 2033 (source). Decorative panel kits, the mainstay of stylish accent upgrades, alone make up a $1.2 billion slice of this pie and could top $1.5 billion by 2029 (source). The reason? More product choices, better realism, and noticeable price pressure as brands try to outdo each other with easier and “smarter” kits. If you’re seeing a glut of textured wall panel kit options (PVC, MDF, plant fiber, or even real wood), that’s not your imagination.
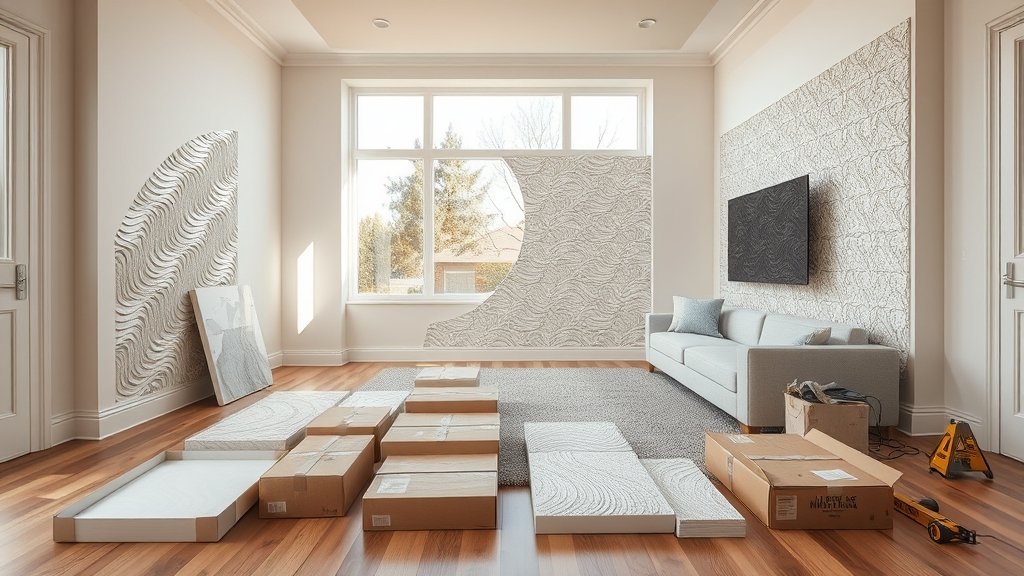
DIY vs. professional — clear cost comparison and decision criteria
Let’s get concrete. For a 3D wall panel DIY approach, expect panels to cost $10–$30 per square foot (not including adhesive or trim), with extras adding $0.50–$1 per square foot. Do it all yourself, and you’ll spend roughly $12–$35 per square foot. Hire a contractor? Labor normally lands in the $25–$70 range (average is around $45), so your total balloon jumps to $37–$105 per square foot (source).
- DIY makes sense if: You have basic carpentry skills, a good eye for detail, and your room has simple geometry (single accent wall, no odd corners) and a smooth, dry surface.
- You should hire a pro if: Walls have previous paint/wallpaper issues, lots of corners or windows, moisture risks (basements, bathrooms), or you want a guaranteed resale result/potential warranty.
Budget-conscious homeowners like Sarah are typically hands-on but wary of rework costs—read on for how to avoid the mistakes that push projects into the “wish I hired someone” territory.
Most common installation problems and how to avoid them (the #1 buyer risk)
Installer reviews and expert reports point to a short but critical list of trouble spots:
- Wall preparation taking far longer than planned — bumpy substrate, hidden moisture, traces of old adhesive disrupt results.
- Seams that show or stagger over time — from uneven measurement, lack of a laser level, or poor panel alignment.
- Chipping and surface cracking — especially with cheaper MDF or hard PVC unless cut with quality sharp blades.
- Moisture swelling/warping — affects MDF and paper-fiber panels most in bathrooms and basements.
- Edge finish and colour inconsistency — when panels aren’t pre-finished or when painted after install without primer.
How to avoid these pitfalls?
- Prep: Sand, clean, and dry the wall thoroughly; use a long level and repair any dips.
- Layout: Dry-fit panels on the floor first; mark stud locations.
- Cutting: Invest in a fine-tooth saw or rent one; always use sharp blades to prevent chipping.
- Adhesive: Use the manufacturer-recommended formula for your panel and climate; avoid cheap alternatives for lasting hold.
- Finish: Seek kits with prefabricated or interlocking edges; consider a matching caulk or trim to mask gaps.
For step-by-step advice, check real installation case studies on retailer sites, or ask the manufacturer for a printed guide before you commit.
Exact cost breakdown and time investment for a typical room (single guide example)
Let’s break down a standard 12′ x 12′ room (8′ ceiling, one accent wall): that’s 96 square feet. Here’s what you’ll actually spend and need if tackling a 3D wall panel DIY:
| Item | DIY Cost (Low-High) | Pro Install (Avg.) | Notes |
|---|---|---|---|
| Panels (96 sq ft @ $10–30) | $960–$2,880 | $960–$2,880 | PVC & composites pricier, MDF lowest |
| Adhesive & Trim ($0.50–$1/sq ft) | $48–$96 | $48–$96 | Don’t skip proper caulk for seams |
| Tools (buy/rent) | $60–$200 | Incl. in labor fee | See tool checklist below |
| Labor (if pro) | $0 | $2,400–$6,720 | $25–$70 per sq ft |
| Total Estimate | $1,068–$3,176 | $3,408–$9,696 | DIY ~= $12–$35/sq ft, Pro ~= $37–$105/sq ft |
Realistic time investment for a DIYer: Prep (3–5 hours), layout and cutting (2–4 hours), install (4–8 hours). A pro team will likely do it in a single day. If you lack the tools or need to rent specialty saws, add $50–100 and a trip to the hardware store.
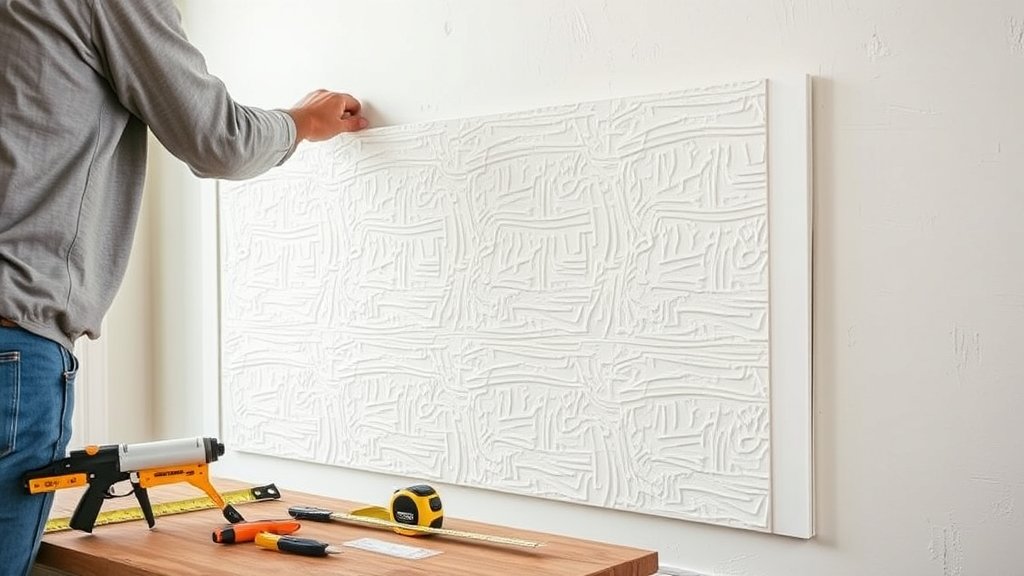
Tools & skill checklist — what you need to buy, rent or already know
Essentials for a 3D wall panel DIY project:
- Measuring tape (at least 16 ft)
- Long level (or laser level)
- Stud finder
- Fine-tooth handsaw, miter saw, or circular saw
- Electric sander (for prepping walls and edges)
- Caulking gun and painter’s caulk (color-matched)
- Paint supplies (if panels are paintable)
- Protective gear (safe goggles, dust mask, gloves—especially with MDF or old walls)
Budget for tools:
- Already own most tools? Add only caulk/paint costs ($15–$40 total)
- Need to buy/rent saws/levels? Add $50–$120, worth it for pro-like results
According to user reviews and market research, improper cuts or poor seams are a leading cause of visible quality issues in wall panel projects—don’t skimp on this step.
Materials and technologies used in best-selling kits — pros, cons, and safety/sustainability impacts
The “right” textured wall panel kit depends not just on style, but on what it’s actually made from:
- PVC (polyvinyl chloride): ~42% market share. Waterproof, light, easy to clean, but can give off fumes when cut. Choose if you want bathroom-grade durability at a slight environmental cost.
- MDF (medium-density fiberboard): ~33% market share. Very affordable, paintable, easy to cut, but vulnerable to moisture. Always check for CARB or FSC certification to avoid VOC/formaldehyde headaches.
- Metal: ~18% market share. Durable and fire-resistant, but harder to cut or customize at home, and heavier than other options.
- Composites/plant fiber: ~7% share but rising fast. Often eco-friendlier, lighter, and sometimes prefinished in subtle wood-look veneers (source).
Finishing technology matters: About 38% of all panels use factory-laminated surfaces for durability and fast install (source). Anything marketed as paintable should be primed before applying color for best wear.
Fire safety, VOCs and environmental considerations (what to ask before you buy)
When picking a kit, always check for:
- Fire ratings: Class A (best, slowest flame spread) or Class B (most homes are fine with this). Metal and some treated composites naturally score higher than MDF or PVC exclusively.
- VOCs (volatile organic compounds): Some MDF can off-gas formaldehyde unless it’s CARB/TSCA certified. PVC sometimes emits fumes during cutting. Opt for GREENGUARD or similar endorsements if possible.
- Recycleability: Metal, some PVC, and plant-based panels are increasingly recyclable—confirm with the brand. FSC is the standard for sustainable wood veneers.
Real-world note: Since PVC and MDF together make up 75% of the market, their fire/VOC profiles dictate most code and insurance issues. Check documentation if selling or renting your home.
Styles, patterns, customization and impact on satisfaction & resale
Popular textured wall panel kit looks in 2024:
- Geometric 3D grids and cubes (bold and modern; great for accent walls)
- Organic wave or fluted panels (softer, trending for living/dining rooms—see this practical guide)
- Slat/screen panels (vertical lines, wood veneer or faux-wood—a big favorite in Scandinavian-“Japandi” decor)
- Paintable or color-custom kits (tips: neutrals read modern and don’t scare off future buyers; bold colors can limit resale)
- Faux stone and brick (authenticity and texture do boost value in the right home, but look for subtlety not “theme room” design)
Customization is increasing, with up to 38% of wall panel installations called “decorative” and almost a third using modular or prefabricated formats (source). The more versatile/personal can be a powerful resale boost—provided it’s skillfully installed.
Regional/regulatory considerations for 2024 — building codes, restrictions and permits
Before you start, check:
- Fire code requirements: Multi-unit dwellings and rentals often require rated materials, especially if using MDF (33% of market) or PVC (42%).
- Permit triggers: Most cosmetic installs in a single-family home are permit-free, but anything affecting structure (removing drywall, electrical behind panels) may need review.
- Material restrictions: Some localities limit formaldehyde content in MDF or require proper disposal for plastic waste. Check for CARB/TSCA compliance as a shortcut.
- Insurance & HOA impacts: If you’re renting or in a managed property, ask about required materials and notify for documentation to avoid coverage gaps.
Building codes are especially attentive to materials compliance given how dominant MDF and PVC are. Disclose all upgrades on a real estate listing for full transparency (it helps with appraisals, too).
Three important subtopics most competitors miss (and how we cover them)
Most guides skip these buyer-critical points:
- Exact homeowner cost, tool, and time calculation—We’ve provided a 12’ x 12’ room example, so you can estimate instantly for your own home.
- Maintenance and repair guide—Tips for fixing chips, treating seams, or repainting, based on actual material longevity and what real reviewers encounter.
- Clear regional/certification checklist—Don’t gamble on safety or insurance; our workflow covers what the codes require for sale or rental compliance in 2024.
Homeowners routinely run into hidden costs—panels alone at $10–$30/sq ft, install adds $25–$70/sq ft. Reviews repeatedly call out seam, chipping, and swelling issues—our resource is shaped to avoid these costly headaches and maximize your ROI.
Quick decision checklist & recommended next steps
Still weighing options? Here’s your action plan:
- Wall condition: Is it smooth and dry? If not, expect extra prep—or get pro help.
- Budget: Want under $2,000 and are handy? DIY is likely a fit. Value speed or warranty? Pro install wins.
- Material preference: Pick PVC or metal for wet areas, MDF or plant-fiber for bedrooms/offices, but always check safety labels.
- Safety/regulatory: Confirm class rating, VOC level, and HOA/building rules up front (request documentation!)
- Decision rule: If the wall is more than 25% corners/windows or covers over 200 sq ft, pro work pays off; under that, motivated DIY is realistic.
Look for: Detailed install guides, included trim/edge kits, strong warranty, fire and VOC certifications.
Next step: Measure your wall’s square footage, use the above example to ballpark costs, and get quotes for both routes—then make a decision with eyes wide open.
For related home upgrades that also impact value, see our practical walkthroughs for fluted wall panels, cabinet refacing, garage to ADU conversion, DIY flooring, or home office soundproofing.
FAQ
Can a moderately handy homeowner really install a textured wall panel kit?
Yes—if you’re comfortable using a saw and measuring accurately. The main challenge is in prepping the wall and aligning seams so the final result looks intentional and not “piecemeal.”
Will a textured wall panel kit work over uneven or old plaster walls?
It’s doable, but expect 3-5x more prep (filling, sanding, priming). Some flexible PVC panels can hide minor bumps, but for the best look, a flat surface is key.
Which material should I pick for a bathroom or kitchen accent wall?
PVC or metal are the safest for wet/moist environments—both resist swelling, warping, and mold far better than MDF or paper composite panels.
Can adding textured wall paneling hurt resale?
Not if it’s tasteful, neutral, and professionally finished. Bold colors, themed looks, or shoddy seams can deter buyers. Think accent—not overload.
How do I fix damaged seams or chipped panels later?
Use compatible filler, matching paint, or order extra trim from the kit maker. Prefinished edges and caulk are your best first defense against future repairs.