

Home office soundproofing is no longer just about hanging a few foam panels and hoping for the best. If you work remotely in an apartment or house, effective soundproofing is the difference between productive calls and constant distraction. Here’s a practical, evidence-based roadmap for quieter work—without getting lost in myths or maxing out your budget.
Key Takeaways
- Real-world soundproofing results are additive but capped by weak spots—most aggressive DIY projects deliver 15–20 dB of noise reduction at best.
- Start with airtight sealing: weatherstrip, caulk, use door sweeps or outlet gaskets—this step alone can reduce noise by 5–12 dB and is the highest ROI.
- The right upgrades (window inserts, layered drywall with Green Glue or mass loaded vinyl) matter, but poor installation or missing flanking paths means wasted money.
- How Much Quieter Can Your Home Office Actually Get? (Realistic dB Expectations)
- Start Here — Airtight Sealing (Highest ROI Steps)
- Advanced Analysis & Common Pitfalls
- Conclusion
- FAQ
How Much Quieter Can Your Home Office Actually Get? (Realistic dB Expectations)
The main goal of home office soundproofing is to reduce disruptive external sounds and keep your calls private. But what’s actually possible with realistic tactics—not just soundproofing product wish lists?
Let’s break down the additive impact of common fixes, based on observed outcomes and peer-reviewed studies:
- Sealing air gaps (doors, windows, outlets): 5–12 dB reduction—this is the most crucial step, per reliable research and user reports.
- Second layer of ½-inch drywall with resilient channel or Green Glue: 10–15 dB additional reduction.
- Mass-loaded vinyl (MLV) or dense drywall cladding: 7–12 dB more.
- Acoustic window inserts, heavy curtains: Each typically provides 6–10 dB (provided they are installed correctly).
- Acoustic panels, rugs, bass traps at reflection points: These don’t block sound but can reduce reverberation and echo by 3–6 dB (clarity) and lower room levels by 2–4 dB.
These steps are cumulative, but not limitless: sealed walls mean nothing if sound gets in through ceilings or floors (so-called flanking transmission). Even aggressive DIY, according to dozens of real users, rarely achieves more than 15–20 dB total noise reduction with respect to outside or adjacent-room noise. That’s a meaningful improvement, but not total silence.
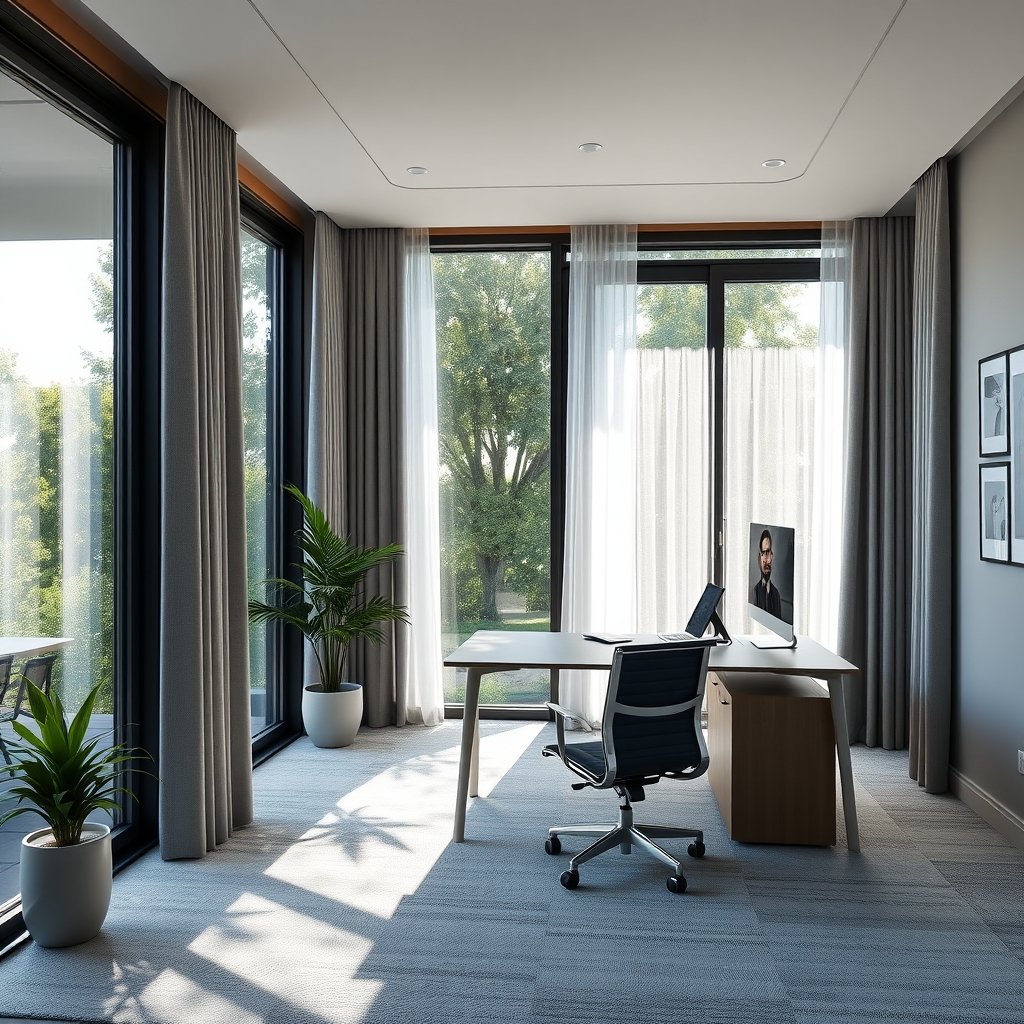
For in-depth guidance on wall upgrades, see our complete home office wall soundproofing guide.
Start Here — Airtight Sealing (Highest ROI Steps)
Every credible source and real Reddit user agrees—airtight sealing is the single most effective and cost-efficient upgrade for home office soundproofing. Even a top-of-the-line soundproof wall means little if you can see light through your door gap or feel airflow around your window frame.
- Weatherstrip doors and windows: Use high-density weatherstripping to compress against moving parts. Install a door sweep on the bottom to block the gap—users in Reddit’s r/HomeImprovement confirm this is the biggest bang for buck step.
- Seal electrical outlets and wall penetrations: Add foam outlet gaskets under every cover plate, and run acoustical sealant or caulk around pipes, wires, and baseboards.
- Add acoustic window inserts: If exterior noise is an issue, custom acrylic window inserts can be mounted seasonally or year-round for 6–10 dB of reduction.
- Check HVAC vents and grilles: Upgrade to lined ducts or add baffle boxes where you can, but don’t block active air returns (fire hazard).
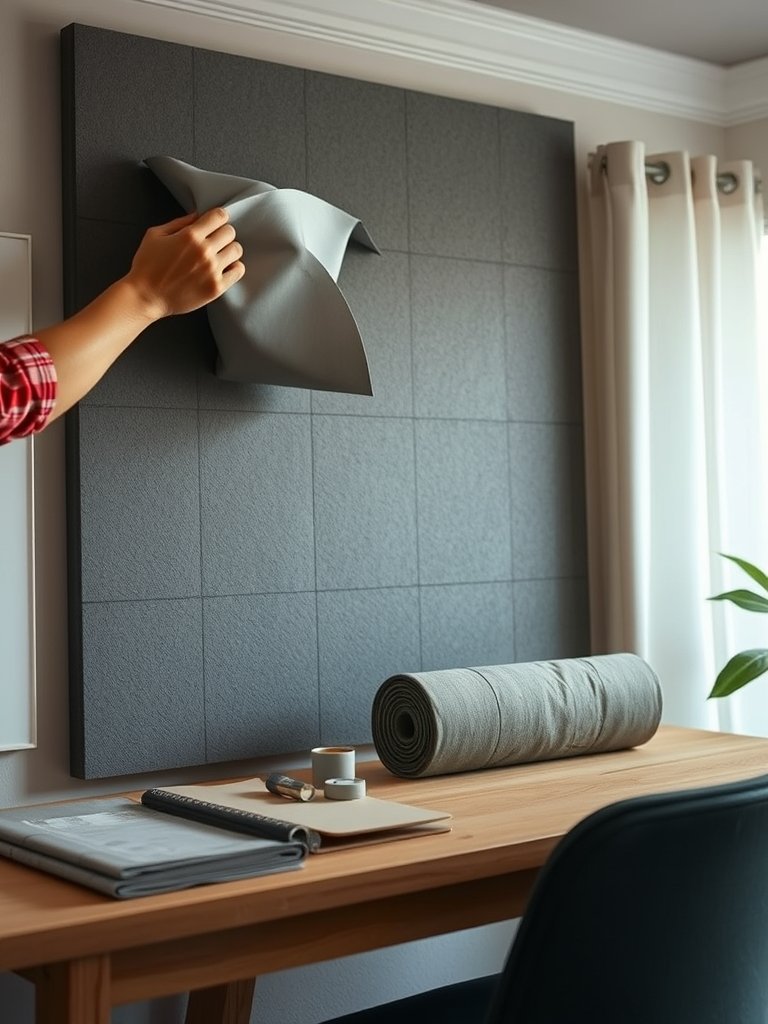
Comprehensive sealing consistently achieves a 5–12 dB reduction before you invest in any major construction. Focus on this step first—it’s the “80/20” rule of soundproofing.
For other doors and windows, solutions like interior window shutters or acoustic curtains help boost results for little cost.
Advanced Analysis & Common Pitfalls
Even with DIY enthusiasm and a solid plan, most home office soundproofing projects run up against one or more of these issues:
- Flanking transmission: Sound curves around walls via ceilings, floors, shared studs, HVAC, or structure. Wall upgrades alone cannot fix this (“I spent $800 on MLV and drywall, and the noise still comes through the ceiling”—Reddit user, paraphrased).
- Incomplete sealing: Missed air gaps at baseboards, outlets, tiny tears, or even keyholes add up to lost dB.
- Incorrect resilient channel installation: Overdriving screws, bridging with blocking or nailing into framing negates the decoupling and can ruin a $2,000 wall job (see real-world user warning).
- Aesthetic/space tradeoffs: Mass loaded vinyl and multi-layer assemblies eat up floor space. Bulky panels, doubled drywall or thick curtains may clash with décor in a home office.
- Cost frustration: Pro-quality sound isolation (double stud walls, resilient channels, dense insulation) is material and labor-intensive. Even aggressive DIY often caps out at 15–20 dB, well short of clinical “recording studio” silence.
If you want to compare your options, here’s a quick table on effectiveness and installation tradeoffs for major upgrades:
| Upgrade | Typical dB Reduction | DIY Difficulty | Est. Cost | Longevity |
|---|---|---|---|---|
| Weatherstripping + Caulking | 5–12 dB | Easy | Low | 5+ years |
| Second Drywall + Green Glue | 10–15 dB | Medium | Med-High | 20+ years |
| MLV (Mass Loaded Vinyl) | 7–12 dB | Medium | Medium | 20+ years |
| Acoustic Window Insert | 6–10 dB | Easy-Med | Medium | 10+ years |
| Heavy Curtains | 6–10 dB | Easy | Low-Medium | 5–10 years |
| Acoustic Panels/Rugs | 3–6 dB (clarity, not blocking) | Easy | Low | 10+ years |
New research is promising: MIT’s sound-suppressing silk and acoustic metamaterials could one day offer major gains with less bulk, but commercial options are not yet mainstream.
For a step-by-step plan that fits your budget and skill, reference this DIY vs. pro guide for other cost-effective home upgrades.
Conclusion
To recap—successful home office soundproofing starts with airtightness, then adds strategic mass, damping, and absorption. Realistically, you’ll see 5–12 dB reduction from sealing, up to ~20 dB with multiple upgrades. Most missed gains are due to flanking noise and poor detail work—not lack of expensive materials. Set practical goals, measure before and after, and only hire a pro for full wall or ceiling assembly or when code/lease constraints require.
Ready for a deeper dive? For a complete wall-focused approach, see our Home Office Soundproofing Walls Proven Guide.
Don’t wait—take simple soundproofing action today to make your home office a place where you can focus and perform.
FAQ
How much noise reduction will I really get from DIY soundproofing?
Most real-world DIY home office soundproofing projects deliver 10–15 dB noise reduction, and up to ~20 dB with careful sealing, added mass, window inserts, and damping. Professional methods beyond that are cost and space intensive.
What is the cheapest upgrade with the highest impact?
Airtight sealing—use weatherstripping, caulk, door sweeps, and outlet gaskets. This one step alone commonly results in 5–12 dB reduction for under $100.
How do I know if flanking transmission is the problem?
If sound bypasses your treated walls (e.g., through floors, ceilings, HVAC ducts), you’ll still hear noise. Walk the perimeter, listen at vents, or use a smartphone SPL app while tapping to locate acoustical “leaks.”
Do wall panels actually block sound from neighbors?
No—most acoustic panels absorb sound within your office to reduce echo and improve call clarity. Blocking outside or neighbor noise requires airtightness, added mass, and ideally some decoupling of the wall structure.
When should I hire a pro for home office soundproofing?
If you need to move or reframe walls, handle electrical, or want >20 dB reduction, get a quote from a specialist. Pros are also needed in multi-unit dwellings to ensure code compliance and avoid lease violations.