

Home energy audit is the fastest, most cost-effective path for homeowners to lower utility bills and fix hidden energy losses—without wasting money on upgrades that never pay back.
Key Takeaways
- Targeting drafts, attic insulation, and duct leaks gives the highest dollar-for-dollar energy savings, but most savings come from doing the right tasks, not the most tasks.
- DIY home energy audit steps can cut energy use by 5-15% for free or very little cost; professional audits run $350–$420 but typically identify larger savings opportunities—15–30% or $200–$600 per year on average.
- The main DIY failure points are missed hidden leaks and lack of measurement—simple phone thermal cams, smoke pencils, and a printable checklist boost accuracy and results dramatically.
- Why this matters now — expected savings and common scale of loss
- Step-by-Step DIY Home Energy Audit: How to Start, What to Fix, and What Pays Back Fastest
- Advanced Analysis & Common Pitfalls: What Homeowners Miss (and How to Avoid It)
- Conclusion: Move from Discovery to Dollars Saved
- Frequently Asked Questions
Why this matters now — expected savings and common scale of loss
If your house was built in the 1990s or 2000s and you pay more than $200/month for electricity or gas, you’re probably losing $400–$750 yearly due to invisible leaks, insulation gaps, and inefficient systems. A home energy audit is the only way to pinpoint where your money is escaping, and which fixes will actually pay off.
- Heating and cooling (HVAC) usually eats up 43% of your energy bill (Source).
- 20% of heating and cooling loss is from windows and doors (DOE).
- Poorly insulated attics, crawlspaces, and walls account for another 10–15% (DOE).

Wasted energy isn’t always obvious. Most older homes lose hundreds each year from leaky ducts, missing attic insulation, or air sneaking through unsealed utility cutouts, not just old windows or visible cracks.
That’s why a DIY home energy audit—done with the right steps and simple detection tools—enables you to find and tackle the highest-ROI upgrades right away, before considering costly overhauls.
For example, spending $20 and a Saturday afternoon sealing obvious leaks can save as much or more than a $1,200 window replacement job. Knowing where your energy—and cash—is leaking gives you control.
Step-by-Step DIY Home Energy Audit: How to Start, What to Fix, and What Pays Back Fastest
- Print Your Audit Checklist
Start with a printable checklist to track findings. The Department of Energy’s guide can be adapted, but you need room to note measurements, locations, and repairs completed. - Seal Obvious Drafts Today (High ROI)
Use a smoke pencil (or incense stick) on a windy day. Check around baseboards, rim joists in the basement, attic hatches, electrical outlets on exterior walls, and window trim.- Supplies: Caulk ($5–$10), expanding foam ($8–$15), weather stripping ($10–$20).
- Time: 1–2 hours for main gaps. DIY cost: Under $40. Potential: 5–15% energy savings just from sealing common leaks (DOE).
- Check Attic and Crawlspace Insulation
In most 1990s–2000s homes, attic insulation is underperforming (codes changed in 2009/2012). Use a tape measure and insulation ruler. If you have under 12” of fiberglass or cellulose, you’re below modern R-value and likely losing 10–15% through the ceiling.
Attic top-off: DIY cellulose blow-in (weekend rental) or pro upgrade can be estimated at $1–$2.75 per square foot. See our insulation cost breakdown. - Inspect Ductwork in Attic/Crawlspace
Look for disconnected sections and joints (they often separate post-construction), missing/deteriorated insulation, and visible air leaks. Re-seal with duct mastic or foil tape—avoid standard “duct tape” as it dries out fast.- Duct leakage can rob as much as 20–60% of heated/AC air before it reaches your vents (Source).
- DIY cost: $20–$50 in supplies, one afternoon. High ROI—often better than replacing windows.
- See duct sealing payback examples.
- Thermostat and HVAC Routine Checks
Clean/replace your filter. Confirm thermostat settings and schedule. Note: the biggest savings from programmable or smart thermostats come from using them correctly; most programmable thermostats are set identically to old manual versions.- HVAC tune-ups (DIY or pro) pay back fast—see heat pump and HVAC efficiency tips.
- Spot-Check Windows, Doors, and Weatherstripping
If windows rattle, handles don’t tighten, or you feel cold/hot air, mark for caulking or replacement weatherstripping before considering full window replacement. Interior shutters can also cut drafty-window heat loss. - Simple Plug Load Inventory
Use a smart plug or $20 energy meter to measure major phantom loads—older TVs, cable boxes, or “instant-on” devices guzzle power even off. - Prioritize High ROI Actions
Here’s a sorted action list with cost and payback estimates:Action DIY Cost Average Savings Payback Speed Air Sealing (caulk, foam, tape) $20–$50 5%–15% Months Duct Sealing $15–$40 5%–20% Months Attic Insulation Top-up $200–$800 10%–15% 1–3 years Thermostat Tune/Upgrade $0–$150 3%–8% Months to 1 year LED Lighting $15+/room 1%–3% Months Full Window Replacement $400–$1200/each 10%–25% (if old & single-pane) 10+ years
Want a downloadable, print-friendly audit checklist? Grab the DOE starter here. For whole-house insulation, see our insulation pricing guide.
Advanced Analysis & Common Pitfalls: What Homeowners Miss (and How to Avoid It)
The 5 Most Common DIY Audit Pitfalls
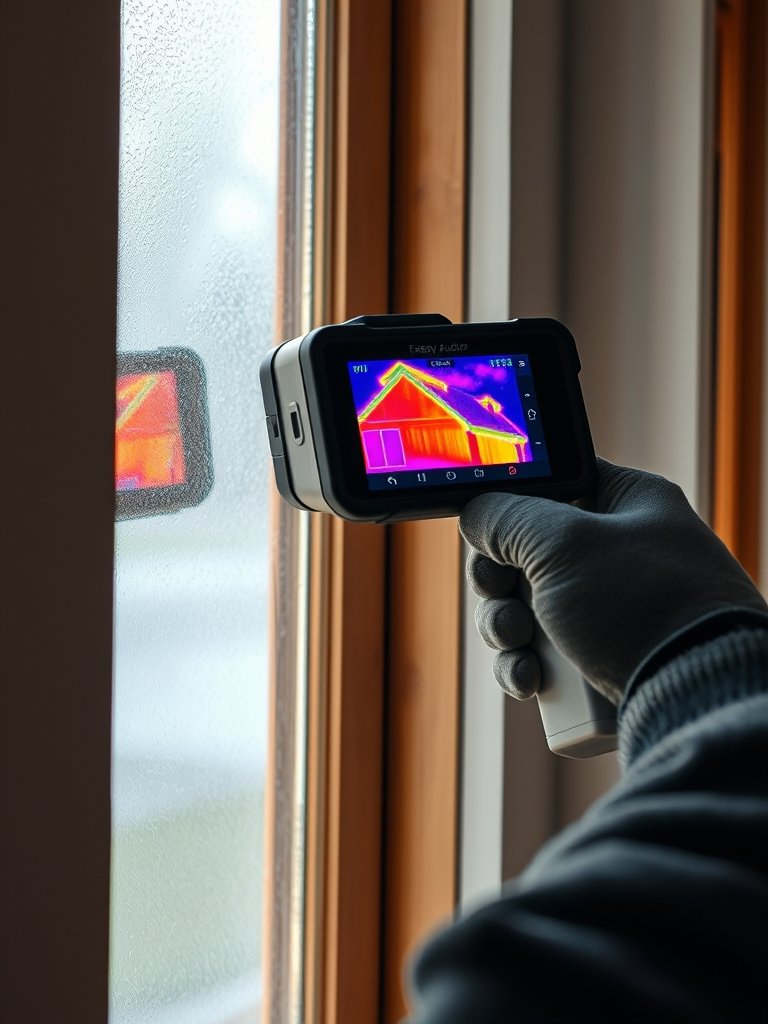
- Missing Hidden Leaks: Without a blower-door or IR camera, drafty rim joists, attic bypasses, and duct joints are easily skipped. (Roughly 50% of homeowners say this is why they haven’t acted—see Resources report.)
- Overlooking Duct Losses: Most duct runs outside the conditioned space, especially above a garage or in crawlspaces, leak much more than expected.
- Stopping at Windows: Upgrading windows has a long payback unless yours are single-pane; focus on air sealing and insulation first.
- Fix Fatigue and Procrastination: It’s easy to start, but 50% of homeowners never finish because they get overwhelmed or can’t measure results easily (Source).
- Unclear Payback: Not tracking before/after energy use, so you never know if your work actually saved you money. (Tip: Most utility bills let you download 12–24 months of usage data as a spreadsheet.)
DIY Toolkit: Must-Have vs. “Game-Changer” Pro Tools
| Tool | DIY Cost | What It Detects | Is it Essential? |
|---|---|---|---|
| Incense stick / Smoke pencil | $2–$15 | Drafts | Must-Have |
| Thermal camera adapter | $30–$60 | Insulation gaps, leaks | Super useful |
| Infrared thermometer | $15–$40 | Surface temps | Helpful |
| Box fan & DIY blower-door | $0–$40 | Total house leakage | Optional |
| Duct mastic, foil tape | $15–$25 | Duct leaks | Must-Have |
| Pro Blower Door | $1000+ | Total, hidden leaks | Pro-Only |
| Duct Blaster Test | $400 (pro audit) | Duct losses | Pro-Only |
| Combustion Analyzer | $500+ | Gas safety | Pro-Only |
The fastest fail is skipping key measurements. Even the best “walkthrough” audit can miss 10–20% more energy loss than a $300–$400 pro audit because of these detection limits. See Energy Harbor’s audit guide for what professionals include.
Should You Hire a Pro or DIY?
Professional audits cost ~$350–$420 and locate 15–30% annual savings (usually $200–$600/year), thanks to precision tests: blower-door, duct blaster (for duct leaks), and combustion safety checks. DIY audits are free if you already have the tools, and can deliver 5–15% reductions—fast, productive, but not as deep. If you plan major insulation or HVAC upgrades, hire a pro for a full report and to unlock utility rebates (many require a certified audit). More at Revise: Audit Reports.

Want to see how this stacks up against other “code-heavy” upgrades in your home? Compare with high-ROI projects like installing a home EV charger or a whole home battery backup—upfront costs are higher, but energy audits reveal thousands in hidden savings first.
Conclusion: Move from Discovery to Dollars Saved
The true value of a home energy audit isn’t checking a box—it’s knowing exactly where your next dollar goes. Seal up the biggest air leaks, upgrade attic insulation if needed, and fix ductwork to see immediate cuts in monthly bills. Even basic DIY steps deliver measurable returns in one or two billing cycles; pro audits go further if you want every kilowatt tracked.
Don’t wait for another heating or cooling spike—start your home energy audit this weekend, log your findings, take one action, and monitor your utility bill for results. More resources, rebate guides, and step-by-step upgrade tips are a click away—download your action plan or see our rebate maximizing guide for water heaters or our dedicated crawl space efficiency upgrade guide to stack even more savings.
Frequently Asked Questions
How much can I truly save with a DIY home energy audit?
Most homeowners save 5–15% on annual utility costs ($100–$400 per year) by sealing air leaks and plugging insulation gaps. Professional audits often identify 15–30% savings ($200–$600), depending on your home’s issues and follow-through.
Is a professional energy audit really worth it?
If you have high bills, hard-to-diagnose drafts, plan major HVAC or insulation work, or want to qualify for rebates, a professional audit usually pays back in less than two years and unlocks deeper savings most DIYers miss.
What is the best order for fixes if I’m on a tight budget?
Start with air sealing (caulk, foam, tape), then check attic insulation and ducts, tune your thermostat, and finally look at upgrading heating or cooling equipment. Fixing drafts and insulation nearly always pays back faster than new windows or full HVAC replacement.
Which tools make the biggest difference for a DIY energy audit?
A smoke pencil/incense stick, a $30–$60 thermal camera phone adapter, foil tape/mastic for ducts, and a well-organized checklist. For advanced measurement, a smart plug/energy meter or blower-door test (via pro) is ideal.
What paperwork do I need to claim rebates after upgrades?
Most rebate and tax credit programs require your energy audit report, receipts for materials or labor, and a proof-of-improvement list. Keep digital and paper copies. For the latest program rules, check your state’s energy office website or ask your utility provider.